Draw Smooth Arc in Autocad
Arc in AutoCAD
- The arc is defined as the smooth curve formed by joining two or more points.
- The arc of a circle is defined as the portion of the circumference of a circle.
- By default, the arc is drawn counter-clockwise. We are required to press the Ctrl key to change the direction of the arc in the clockwise.
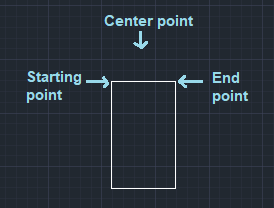
- The arc can be drawn by specifying the starting point, center, and the endpoint.
- We can also draw an arc by determining the angle, radius, and direction. The icon of Arc on the ribbon panel looks like the below image:

Types of Arc
The arrow below the arc consists of the drop-down list specifying the types of arcs. The list will look like the below image:
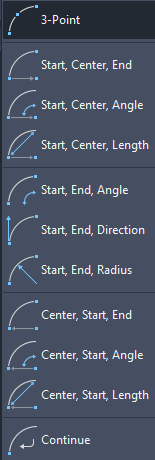
Let's discuss each type of arc with examples.
- 3 Point
Example: To create an arc on two intersecting lines.
Here, we need to specify three points to create an arc.
The steps to create a 3-point arc are listed below:
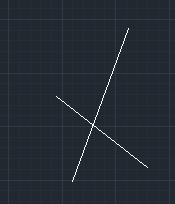
- Create two intersecting lines, as shown in the below image:
- Select theArc icon from the ribbon panel.
Or
Type A on the command line and press Enter. - Specify first, second, and thethird point over the top of two lines, as shown in the below image:
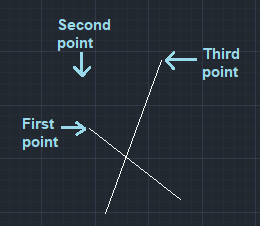
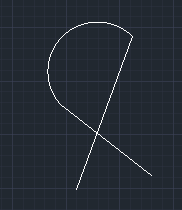
We can change the position of points accordingly. - The arc is shown in the below image:
- Start, Center, End
Example: Arc on a rectangle.
The steps to create an arc are listed below:
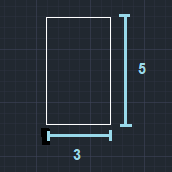
- Create a rectangle. Here, we have created a rectangle with length 3 and width 5, as shown in the below image:
- Select the Arc icon from the ribbon panel.
Or
Type A on the command line and press Enter. - Specify the starting, center, and end point of the arc on the rectangle, as shown in the below image:
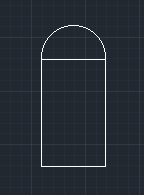
- The arc on the rectangle is shown in the below image:
- Start, Center, Angle
It creates an arc using the start point, center point, and an included angle.
Consider the below image:
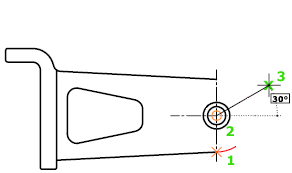
Here, 1 and 2 are the starting and center point, and 3 is the specified included angle.
The radius of arc is defined as the distance between the center point and the start point.
Let's understand by another example.
The process is shown below:

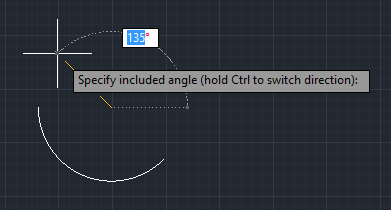
The arc will be created counter-clockwise from the start point. We need to hold the Ctrl key to switch the direction of the arc.
Start, Center, Length
It creates an arc using the start point, center point, and the length of the chord.
Consider the below image:
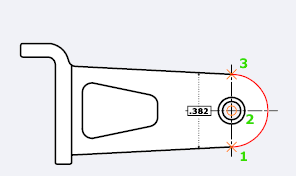
Here, 1 and 2 are the starting and center point. The distance between points 1 and 3 determines the length of the chord.
The distance between the center point and the start point determines the radius.
Let's understand by another example.
The process is shown below:

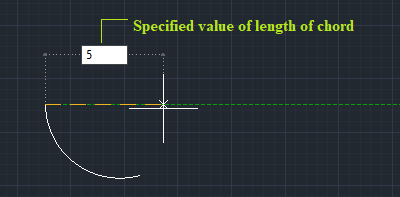
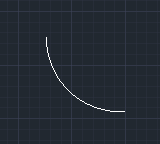
The created arc will be:
Start, End, Angle
It creates an arc using the start point, endpoint, and an included angle.
Consider the below image:
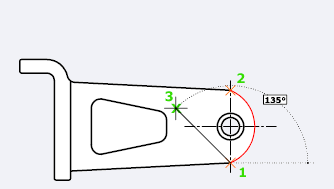
Here, 1 and 2 are the starting and endpoint, and 3 is the specified includedangle.
The included angle between the center point and arc determines the radius and center of the arc.
Let's understand by another example.
The process is shown below:
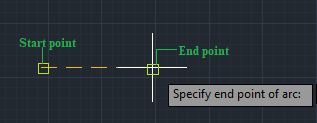
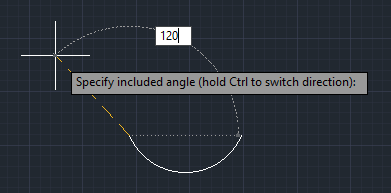
Here, we have specified the included angle of 120.
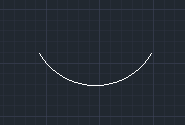
The created arc is shown below:
Start, End, Direction
It creates an arc using the start point, end point, and a tangent direction at the start point.
Let's understand by example.
The process is shown below:
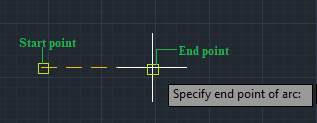
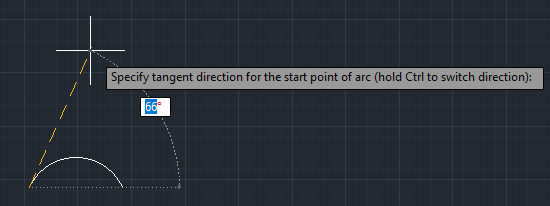
We can specify the direction of the tangent either by a point on the desired tangent line or by specifying the angle value.
We can also change the order of the endpoints.
Start, End, Radius
It creates an arc using the start point, end point, and a radius.
Let's understand by example.
The process is shown below:
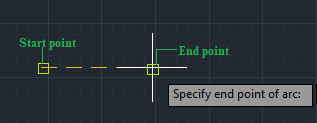
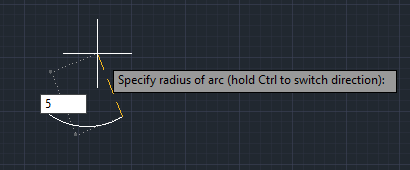
Here, we have specified the radius value 5.
The created arc is shown below:
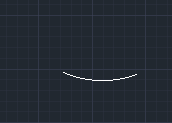
The direction is determined by order of the endpoints.
We can specify the radius by entering the radius value. We can also determine it by specifying the point at the desired distance.
Center, Start, End
It creates an arc using center point, start point, and the endpoint. The endpoint can also be determined as the third point.
Let's understand with an example.
The process is shown below:

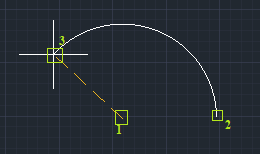
Here, 1 and 2 are the center point and thestart point. 3 is the third point or endpoint.
The radius of arc is defined as the distance between the center point and the start point.
The arc is created in an anti-clockwise direction.
To switch the direction, we need to press the Ctrl button.
Center, Start, Angle
It creates an arc using center point, start point, and the included angle.
Let's understand with an example.
The process is shown below:

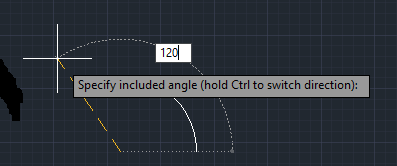
Here, we have specified the included angle= 120.
The created arc is shown below:
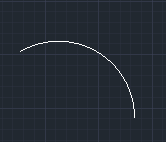
The radius of arc is defined as the distance between the center point and the start point.
The arc is created in an anti-clockwise direction.
To switch the direction, we need to press the Ctrl button.
Center, Start, Length
It creates an arc using center point, start point, and length of the chord.
Let's understand with an example.
The process is shown below:

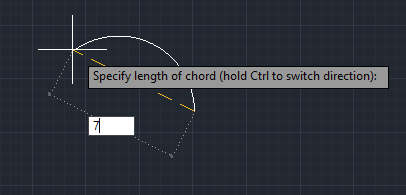
Here, we have specified the length of the chord= 7.
The created arc is shown below:
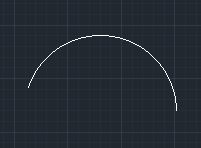
The radius of arc is defined as the distance between the center point and the start point.
The arc is created in anti-clockwise direction.
To switch the direction, we need to press the Ctrl button.
Continue
It creates an arc from the last line or arc drawn. Consider the below image:
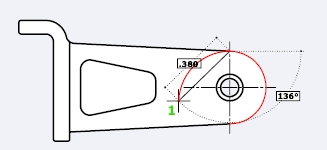
After the drawn arc or line, we can immediately create an arc that is tangent at an endpoint.
We need to only specify the endpoint of the arc.
Source: https://www.javatpoint.com/arc-in-autocad
0 Response to "Draw Smooth Arc in Autocad"
Post a Comment